
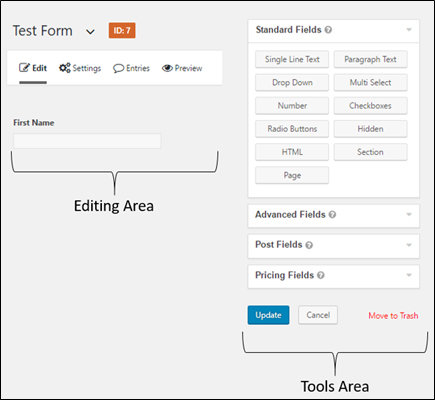
The Edit Form screen is divided into two areas:
- the form editing area on the left
- the form tools area on the right, which includes the data fields for your form and the blue Update button that saves any changes you make to the form
To Add Fields:
Single-click the field in the Tools Area. A copy of the field will appear in the form editing area.
To Edit Fields:
Hover your cursor over the new text box; the top of the box changes to blue:
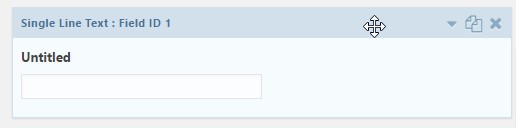
In the upper right corner of the box are three icons:
![]() Expand or collapse triangle – click to:
Expand or collapse triangle – click to:
- open and show the details of the field (triangle up)
- collapse it if the field is open (triangle down)
![]() Copy the field
Copy the field
![]() DELETE the field
DELETE the field
NOTE: the plugin creators used the same icon that in many other software packages means close a window or popup box. Until you get used to it, you may accidentally delete a field when you mean to close it.
If you accidentally delete a field BEFORE clicking update, you can revert the form to the last saved version and restore the field by clicking the Refresh button on your browser. The drawback: you will lose any other changes you made since you last clicked Update.
To edit the field, you must expand the box. Click the expand/collapse triangle. The box expands to show more options:
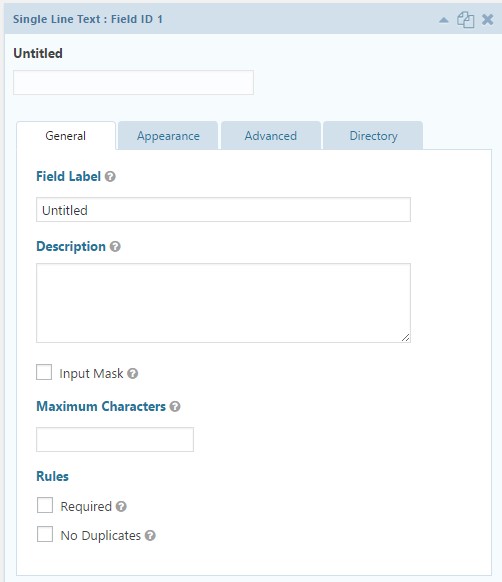
The most important things to set are both on the General tab:
- the field label, which appears above the field
- Required – the form can’t be submitted without this field being completed
To Save Changes:
Click the blue Update button. Unlike Microsoft Word, there is no autosave feature in Gravity Forms, so be sure to click Update frequently.
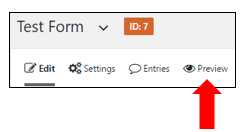
To Preview How Your Form Will Look:
Click the Preview icon above the editing area:
A preview screen opens. You will be able to see a view-only* approximation of how your finished form will look:
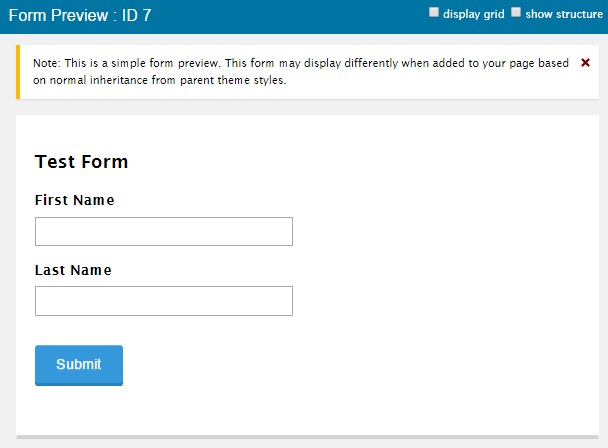
* You can’t test the form to make sure it works properly at this point; we’ll get to that in Step 5. The Preview is a rough draft.